AnyConnect for Linux
Preliminary note
Troubleshooting help can be found below.
Note general
Some restricted services of the University or the State and University Library can only be used when you are on campus, so that the device you use has an address from the area assigned to the University.
To access these services from home or on the road, you must install a so-called VPN client software (AnyConnect or OpenConnect) on your device once and establish a connection to the campus with the VPN client before each access to the restricted services. This means that you are "virtually" on campus and can use the services you are used to.
Please note the different types of tunnels and make sure you choose the correct tunnel.
Initial Setup - Step 1
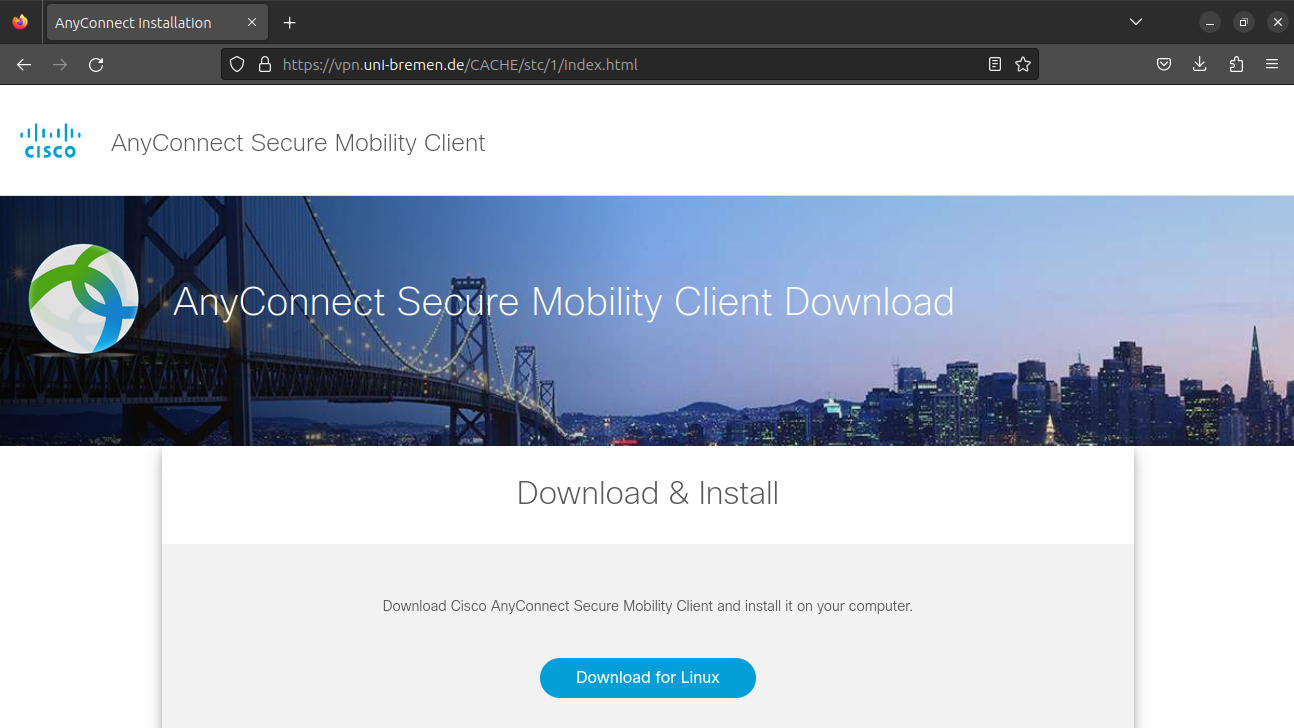
Make sure that your device is connected to the Internet (or the WiFi with the identifier "Uni-Bremen", if you are on the campus of the university). Open the website https://vpn.uni-bremen.de, log in with your university account and then download the installation file for AnyConnect.
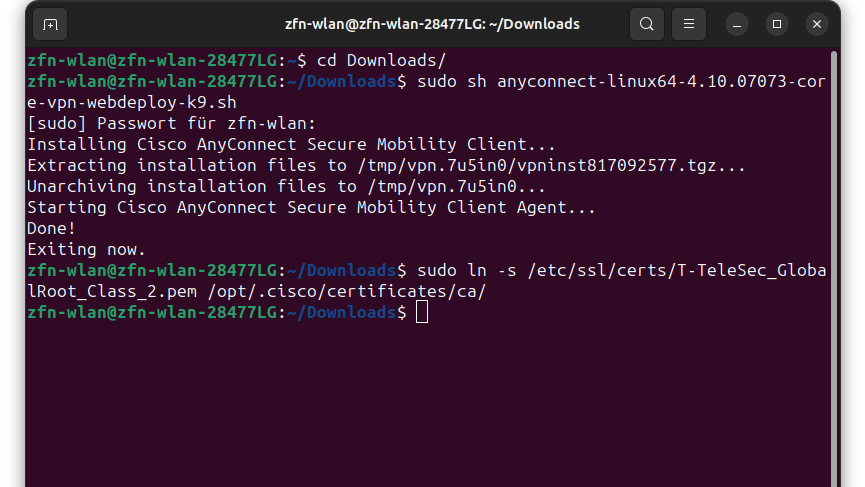
Then run this installation file as a privileged user (root) in the terminal, e.g. with the command:
sudo sh anyconnect.sh
You need to be in the directory where the downloaded file is located. The installation then takes place without any further action on your part.
After the installation is complete, run the following command:
sudo ln -s /etc/ssl/certs/T-TeleSec_GlobalRoot_Class_2.pem /opt/.cisco/certificates/ca/
Connect - Step 1
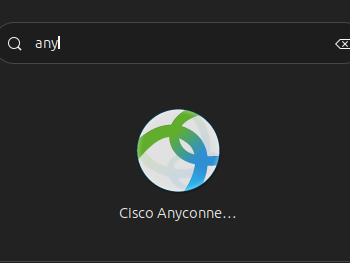
Start the Cisco AnyConnect Secure Mobility Client either from the Application menu or by executing the command /opt/cisco/anyconnect/bin/vpnui.
Connect - Step 2
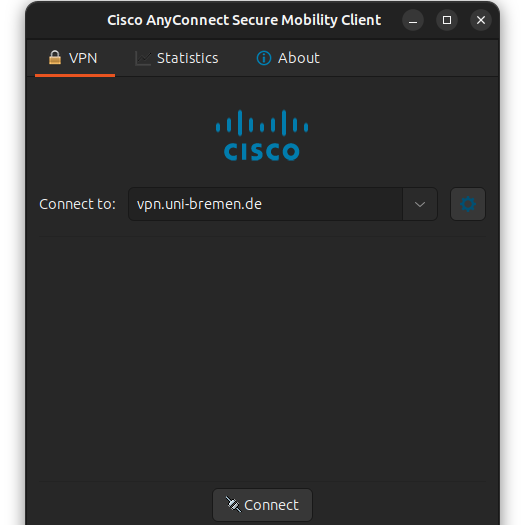
Enter "vpn.uni-bremen.de" after "Connect to:" and click on the gear icon to the right.
Connect - Step 3
Check "Allow local (LAN) access when using VPN (if configured)". This allows you to access resources on your local network (such as printers or file shares) even when the VPN connection is activated.

Connect - Step 4
Close the settings window and click on "Connect" in the main window.
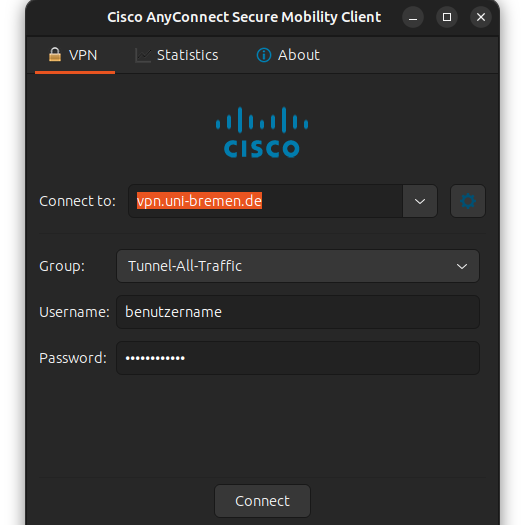
Connect - Step 5
Select the correct Tunnel type under "Group" and enter the user data of your university account after "Username" and "Password". Then click on "Connect".
The program should now establish the connection.
Connect - Step 6
If you no longer need the connection, reopen the AnyConnect window and click the "Disconnect" button on the "Connection" tab.
Troubleshooting
I can't download the installation file and get the message "Forbidden" instead.
- Not all university users can access the VPN service. In particular, alumni are excluded from use.
- If you are a regular member of the university (e. g. a regular student or employee) or SuUB staff member, please contact the Account Manager to have your account assignments checked.
During installation, the error message "The vpn client agent was unable to create the interprocess communication depot." appears
- This error message is triggered by an activated Internet connection sharing. Deactivate the network adapter's share in the adapter settings and try the installation again.
I have successfully established a VPN connection, but can't use the library services?
- Choose the right tunnel type
AnyConnect does not work with my Linux version. What now?
- Under Linux and other Un*xoide you can use the free software Openconnect. We also have instructions.